...
Rhinoceros3D是由美国华盛顿西雅图的Robert McNeel&Associates开发的3D建模器。Rhino用于创建,编辑,分析,记录,渲染,设置动画和转换NURBS *曲线,曲面,实体,点云和多边形网格。Grasshopper是一种视觉编程语言环境,可在Rhinoceros 3D计算机辅助设计应用程序中运行。它与Rhino的3D建模工具紧密集成。
安装Rhino / Grasshopper连接
- 从https://www.rhino3d.com/download下载Rhino 7 。
注意:自THCAD和Rhino 7发行以来,您可以在THCAD中使用Rhino / Grasshopper连接,同时具有THCAD BIM和Rhino 7的试用许可证密钥。旧版本的Rhino的密钥不适用于此集成。 - 从THCAD应用商店下载Grasshopper-THCAD连接:
注意:“应用程序商店”中当前可用的Grasshopper-THCAD连接仅在THCAD BIM中有效,而在较早版本中则无效。 - 重新启动THCAD。
- 要启动Grasshopper或Rhino,请打开并保存新图形。然后使用功能区中显示的新选项卡中的按钮或使用Quad启动的按钮。
从THCAD启动Grasshopper文件
- 打开一个空的THCAD文件。
- 保存。
- 使用THCAD中新的Grasshopper选项卡中的按钮打开Grasshopper。
- 您可以关闭Rhino弹出窗口。Rhino将继续在后台工作。
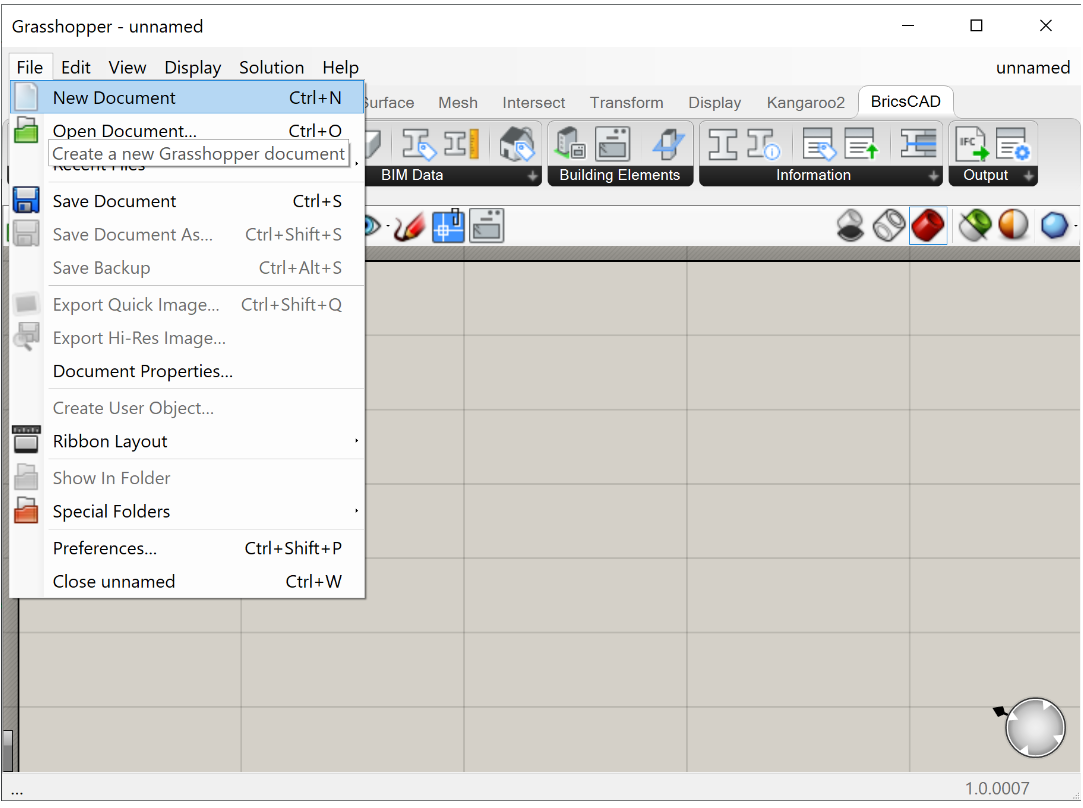
- 在Grasshopper的“文件”选项卡中,选择“新建文档”以打开一个新的空的Grasshopper脚本。
- 选择“打开文档...”以打开现有的Grasshopper脚本。您可以使用过去使用Grasshopper编写的任何脚本,并在THCAD中将其打开,只要其他程序的输入几何已被内部化即可。(要内部化数据,请右键单击输入几何图形组件,然后单击“内部化数据”。)
- 使用脚本创建的几何现在应该在THCAD模型空间中弹出,以红色显示。确保不关闭Grasshopper窗口,否则预览几何将消失,因为Grasshopper文档已关闭。
- 如果您的Grasshopper脚本处于打开状态,但仍看不到预览几何图形,则可能意味着您的Grasshopper文件已链接到错误的THCAD文档。要将其链接到正确的文件,请参阅“将Grasshopper文件与THCAD文件链接”。
将Grasshopper文件与THCAD文件链接
默认情况下,Grasshopper文档将链接到的THCAD文件是从THCAD启动Grasshopper时激活的文件。如果要将其链接到另一个THCAD文件,则需要:
- 使目标THCAD工程图成为当前工程图(即您在当前会话的模型空间窗口中看到的工程图)。
- 将Grasshopper脚本链接到此打开的图形。通过单击
 包含要尝试链接的脚本的Grasshopper画布上方的栏中的“链接”图标来执行此操作。
启动样本文件
示例文件随Grasshopper-THCAD连接一起提供。他们可以向您展示Connection可以实现的功能。。
- 通过从文件夹中打开.dwg,打开一个示例.dwg文件。
- 您将收到一个警告,指出该文件是只读的。发生这种情况是因为文档位于安全文件夹中。单击“是”以只读方式打开。
可选:如果您不希望出现此警告,或者想要编辑文件,请将示例文件复制粘贴到您自己的文件夹中,然后从那里打开它们。 - 从Grasshopper内部,选择“文件”>“打开文档”。再次转到连接”文件夹。
- 选择与.dwg文件同名的.ghx文件。
- 现在将打开示例文件,您将在THCAD模型空间中看到红色的预览几何。确保不关闭Grasshopper窗口,否则预览几何将消失,因为Grasshopper文档已关闭。如果您的Grasshopper脚本处于打开状态,但仍看不到预览几何图形,则可能意味着您的Grasshopper文件已链接到错误的THCAD文档。要将其链接到正确的文件,请参阅“将Grasshopper文件与THCAD文件链接”。
- 您可以在Grasshopper脚本中使用输入滑块进行操作。
- 如果您对模型满意,并希望将预览几何图形转换为真实的THCAD几何图形,则可以将几何图形“烘焙”到THCAD中。您可以通过选择所有“烘焙建筑元素”组件(按住Shift并全部单击它们)并按下“烘焙”按钮来完成此操作
 。
。 - 出现一个弹出窗口,只需单击“确定”以接受。
- 现在,即使附加了BIM数据,该几何图形也可以转换为真实的THCAD几何图形。
- 您将无法保存对文件所做的更改,因为它们是只读的。因此,放弃您的更改或将文件另存为新文件。
Uninstall the Rhino/Grasshopper Connection
- Launch ‘Add or Remove Programs’ in Windows.
- Search for ‘Grasshopper-THCAD connection’.
- Hit ‘Uninstall’.
How to draw a box in Rhino and bake into THCAD via Grasshopper
...
如何在Rhino中画一个盒子,再通过Grasshopper烘焙到THCAD
- 打开一个新的THCAD文件
- 保存文件
- 在THCAD中, 点击Grasshopper > Rhino
- 在Rhino命令行输入BOX来画个盒子。 (这和THCAD Box命令的作用一样。)
- 单击底部的第一个角。
- 单击以找到底座的另一个角。
- 单击以定义框的高度。

- 要打开一个新的Grasshopper脚本,请在Grasshopper环境中,单击Grasshopper> Grasshopper,然后单击File> New document。
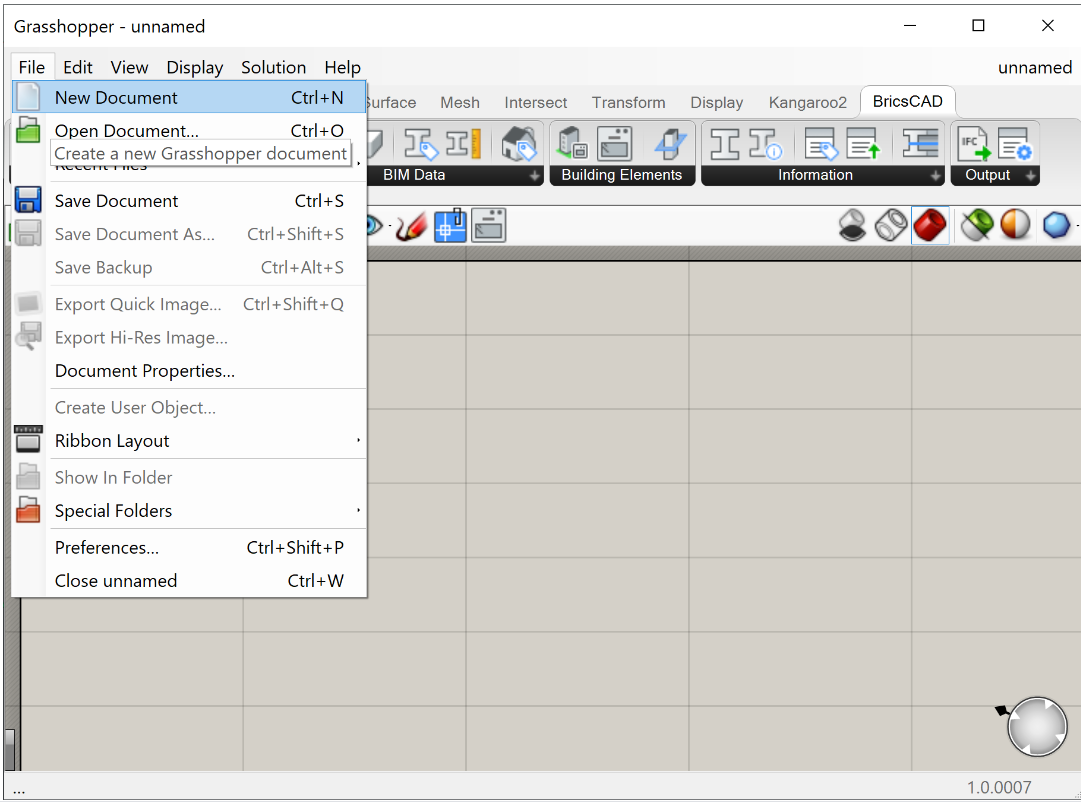
- 保存文件。
- 将Params> Geometry> Brep组件拖放到Grasshopper画布上。
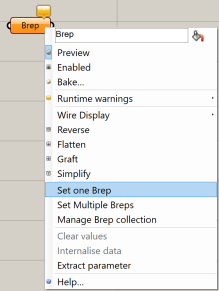
- 右键单击该组件,然后选择“设置一个Brep”。
- 转到Rhino画布,然后选择您的多维数据集。
- Brep组件会将颜色从橙色变为灰色。如果关闭Rhino窗口并返回Grasshopper窗口,则立方体的预览将显示在THCAD模型空间中。
- 将THCAD>建筑元素>烘焙几何体组件拖放到Grasshopper画布上。
- 要链接这两个组件,请从Brep组件的右点单击并拖动到THCAD Bake组件的左点。
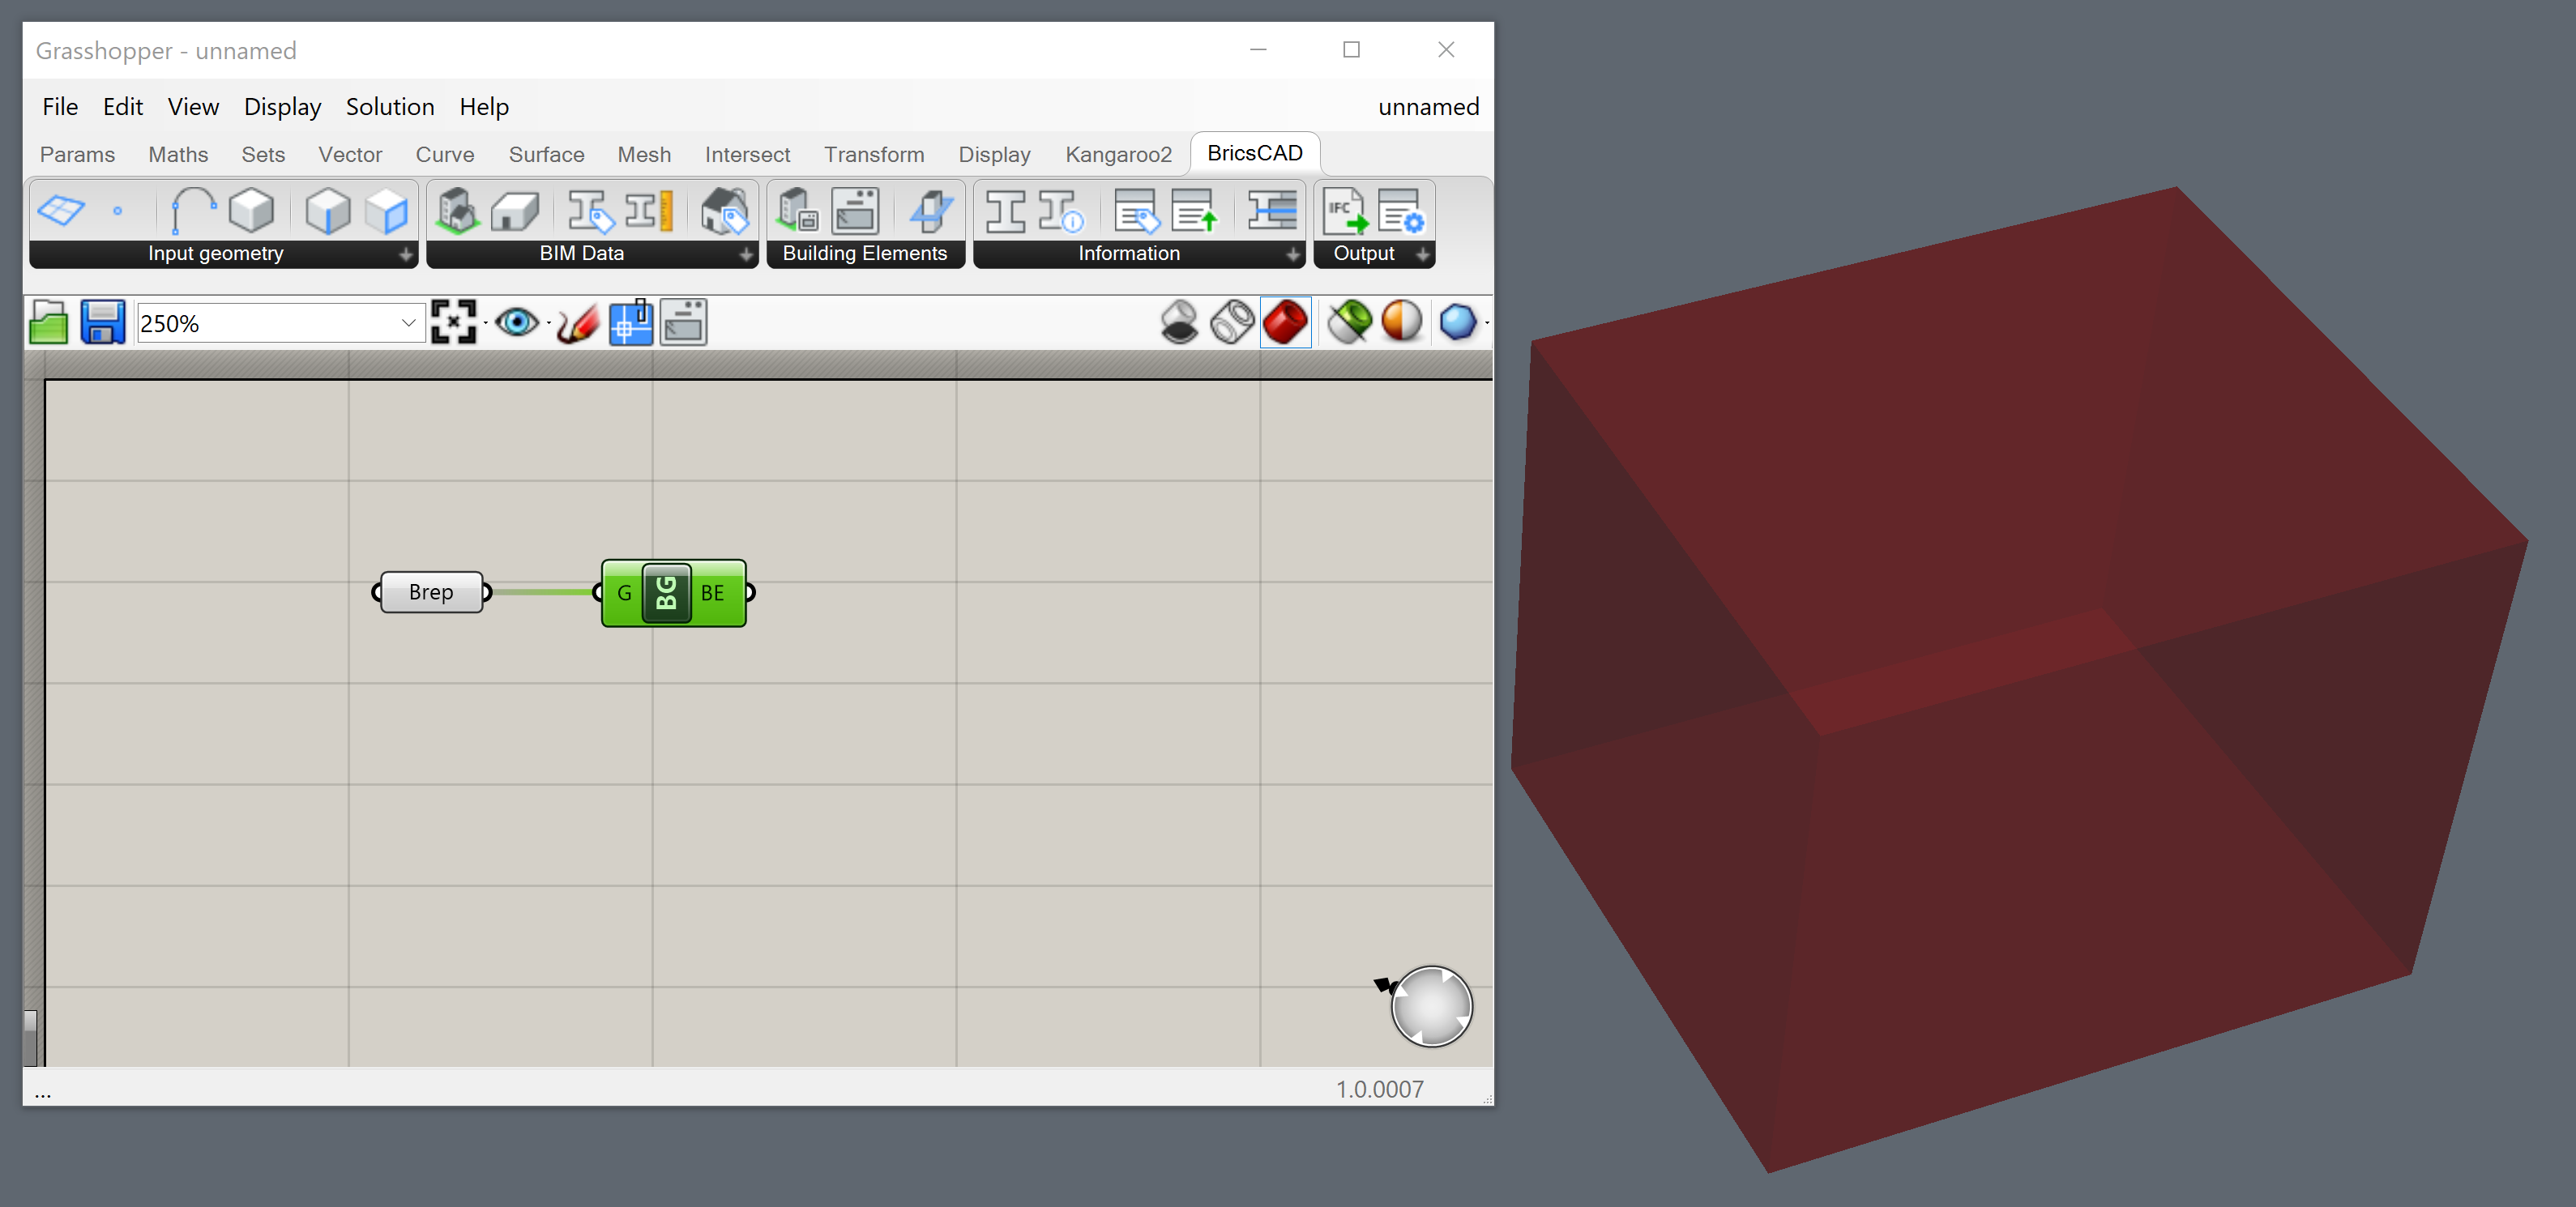
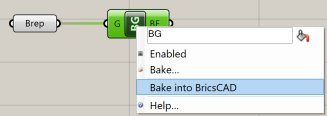
- 右键单击“烘焙几何体”组件,然后选择“烘焙到THCAD中”。
显示以下对话框。在这里,您可以选择目标图层,材质和颜色: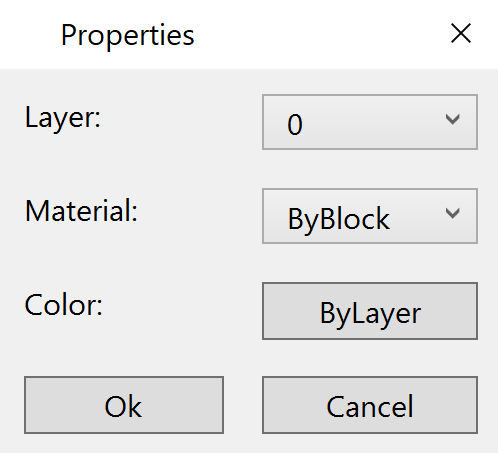
- 单击确定。将盒子作为固体烘烤到THCAD中。
...
- 要打开新的Grasshopper脚本,请在Grasshopper环境中单击Grasshopper> Grasshopper,然后单击File> New document。保存文件。
- 在仪表模板中打开一个新的THCAD文件并保存。
- 要将新脚本链接到打开的.dwg文件,请单击“画布工具栏”中的“链接”按钮。
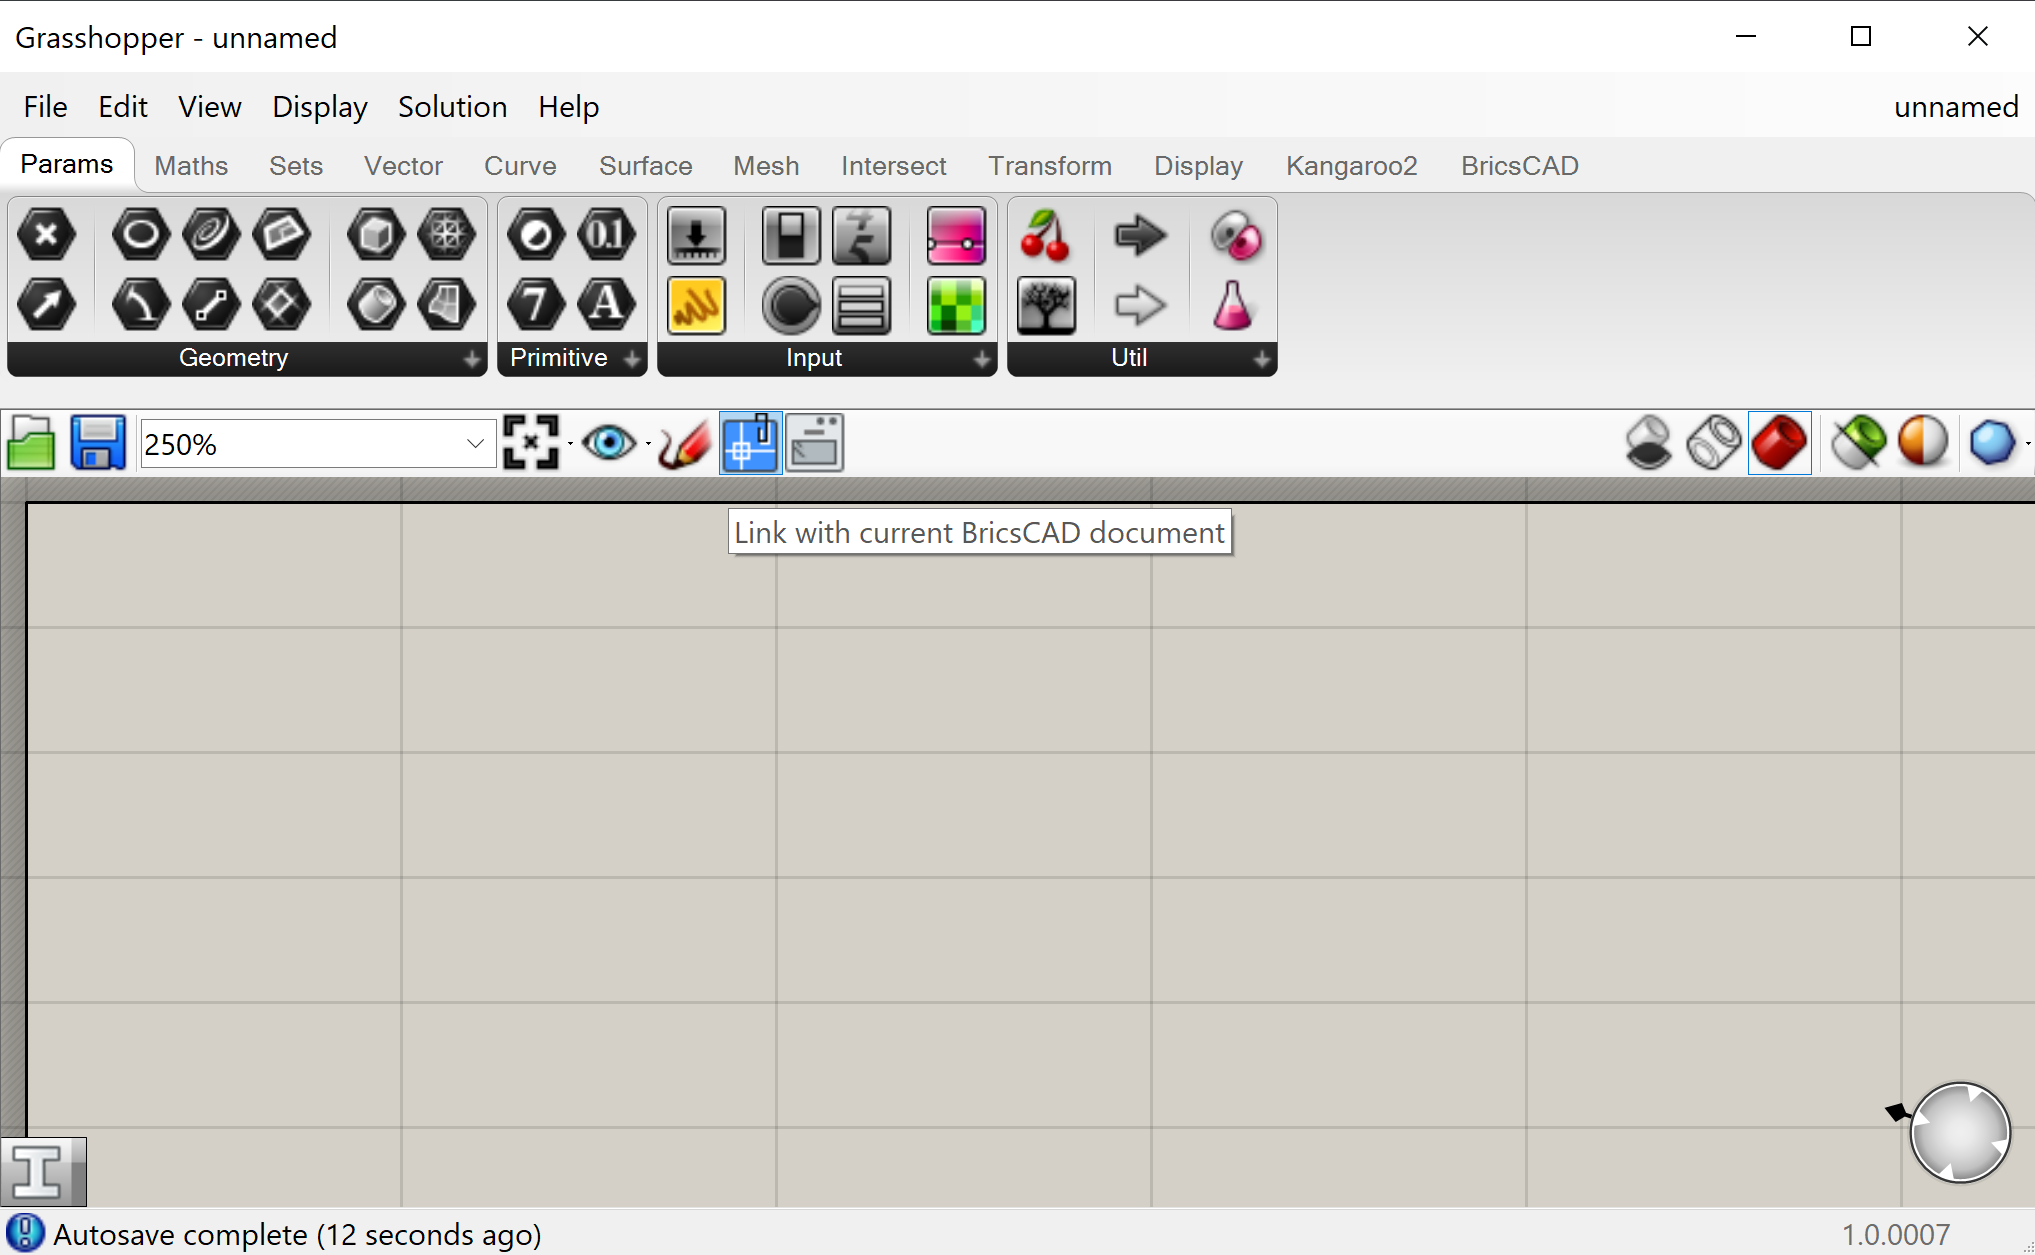
- 转到THCAD模型空间并绘制一个矩形。
注意:使用折线创建不规则几何形状。 - 将THCAD>输入几何>曲线组件拖放到Grasshopper画布上。
- 右键单击“曲线”组件,然后选择“设置一个THCAD曲线”。
- Go to the THCAD model space and select the rectangle.
Note: Save time with the Quad: select the curve in THCAD and then select ToGrasshopper under the Grasshopper tab of the Quad. A Grasshopper component appears in the upper left corner of your Grasshopper canvas.转到THCAD模型空间,选择矩形
注意: 使用Quad节省时间:在THCAD中选择曲线,然后选择Quad中Grasshopper 页签下的ToGrasshopper。一个Grasshopper组件出现在Grasshopper 画布的左上角。 - Link the Curve component to a Surface > Freeform > Boundary Surfaces component
- Link this to a Surface > Freeform > Extrude component.
- In the Direction input of the Extrude component link a Vector > Vector > Unit Z component with Params > Input > Number Slider component. Set this to the height of your box, 17 for example. Note: you can edit the range and preciseness of the slider by right-clicking the component and selecting 'Edit...'. A dialog box pops up where you can set the digits and min and max value of the slider.

- You now have drawn a box in Grasshopper, using THCAD geometry as an input!
...
- Add the 'Start_3.ghx' code to the canvas.
- You do that by downloading the zip file at the bottom of this page and extracting its content.
- Then open the 'Start_3.ghx' file by going to File > Open Document... in your Grasshopper window.
- You can now select all of the Grasshopper code by hitting Ctrl+A on the keyboard and copy it using Ctrl+C.
- Then switch back to the document you were working on in the previous procedure by going to the upper right corner of the Grasshopper window and clicking on the title of the current document (Start_3).
- You then get a drop-down of all the active Grasshopper scripts, so open 'End_2.ghx'.
- Now click on the canvas and hit Ctrl+V to paste the 'Start_3.ghx'-code.
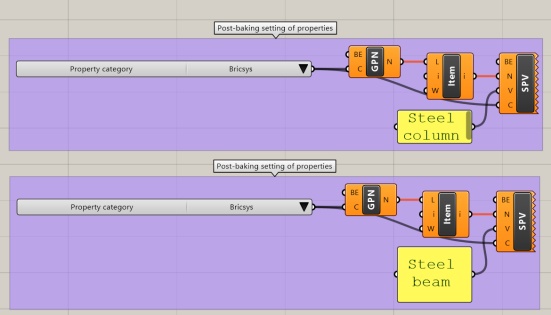
- This code has some post-baking settings of classified and baked beams and columns:
- The script uses the Get Properties Names component to display the BIM properties in the Property Category '.
- In those properties, it selects item 1 for the columns and item 0 for the beams, 'ColumnType' and 'BeamType' respectively.
- To conclude, it sets the properties to the value specified in the Panel components, using the Set Property Value components.
- To make the script work, bake the two Bake Building Element components that make up the railing.
- Now link the Building Element output of the Bake Building Element components to the respective Building Element input of the Get Properties Names components.
- 同样,将“烘焙建筑元素”组件的“建筑元素”输出链接到“设置属性值”组件的相应“建筑元素”输入。
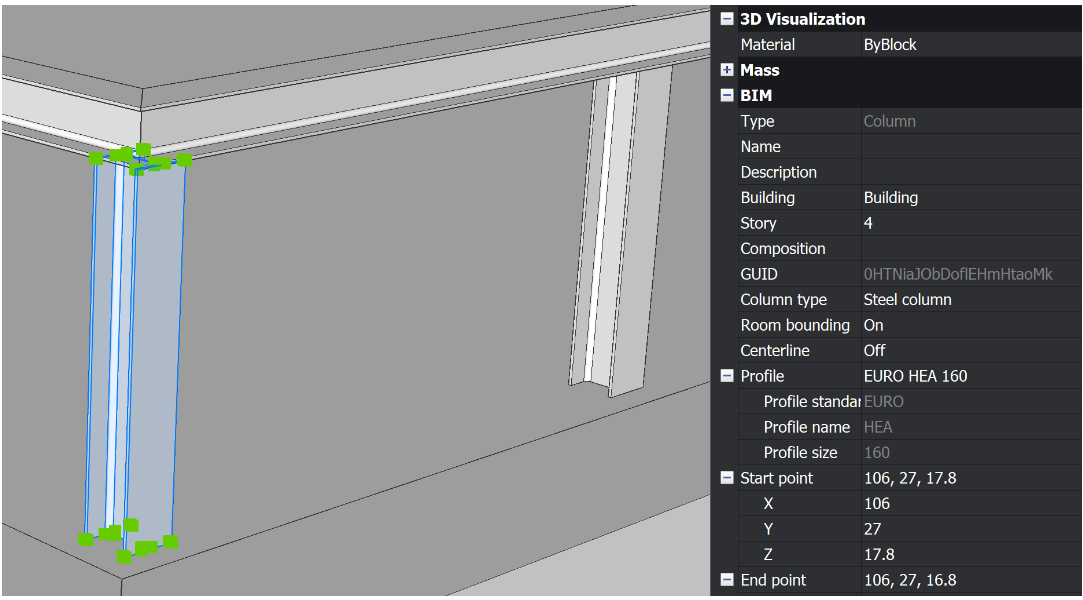
- 如果现在在THCAD中选择一列并打开其属性,则ColumnType将设置为“钢柱”。当您更改面板组件的值时,THCAD中的属性会实时更改。
- 结果脚本:“ End_3.ghx”可在此页面底部的zip文件中找到。它可以与“ End_3.dwg”文件一起使用,在该文件中没有任何内容。烘焙所有建筑元素,以获取烘焙后设置。
...